

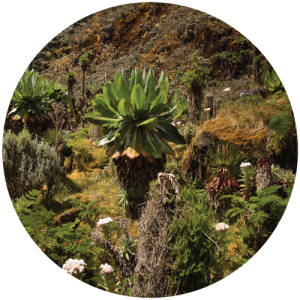
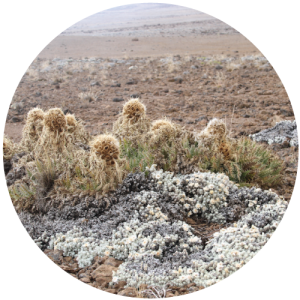
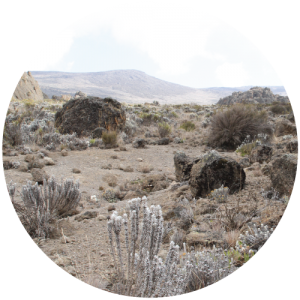
UMBWE ROUTE

Umbwe Route - The Most Challenging and shortest Route on Mt Kilimanjaro - A seasoned Trekkers Route - Umbwe Route is considered to be the most difficult route on Mt Kilimanjaro as its the shortest, steepest and by its very nature, does not allow for acclimatisation. This route really does challenge your climbing and acclimatisation skills and should only be attempted by seasoned trekkers. Despite having low traffic, this route should only be attempted by experienced trekkers as the success rate is quite low.

 Distance: 54 Kms
- Days: 5 Days
- Summit Accent Route: Barafu / Western Breach
- Descent Route: Mweka Route
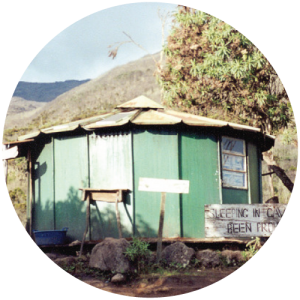
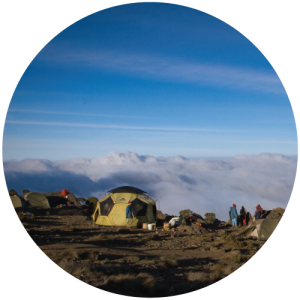
- Accommodation: Camping
- Experience Required: Advanced
- Acclimatisation: Poor
- Summit Success: Average


- Distance: 54 Kms
- Days: 6 Days
- Summit Accent Route: Barafu / Western Breach
- Descent Route: Mweka Route
- Accommodation: Camping
- Experience Required: Advanced
- Acclimatisation: Poor
- Summit Success: Average

- Distance: 54 Kms
- Days: 7 Days
- Summit Accent Route: Barafu / Western Breach
- Descent Route: Mweka Route
- Accommodation: Camping
- Experience Required: Advanced
- Acclimatisation: Poor
- Summit Success: Average